As the Internet of Things (IoT) continues to grow, remotely accessing IoT devices via SSH has become an essential skill for developers, hobbyists, and professionals alike. With the help of Amazon Web Services (AWS), you can set up a secure and free platform to manage your IoT devices without the need for expensive hardware or infrastructure. In this article, we will explore how to remotely access IoT devices via SSH on a free AWS web platform and provide step-by-step instructions to make your life easier.
Whether you are a beginner or an experienced user, understanding how to remotely access IoT devices is crucial for managing and maintaining your connected devices. This guide will cover everything from setting up your AWS account to configuring SSH tunnels and ensuring security. By the end of this article, you will have the knowledge to manage your IoT devices efficiently and securely.
This article is designed to provide comprehensive insights into remotely accessing IoT devices via SSH on a free AWS web platform. We will also discuss potential challenges, best practices, and how to troubleshoot common issues. Let’s dive into the details.
Read also:25 Money Secrets Pdf Free Download Unlock Financial Wisdom Today
Table of Contents
- Introduction to IoT Devices and SSH
- Why Choose AWS for IoT Devices?
- Setting Up Your AWS Account
- Configuring SSH Access for IoT Devices
- Securing Your SSH Connection
- Troubleshooting Common Issues
- Advanced Features and Tools
- Understanding Costs and Limits
- Best Practices for Managing IoT Devices
- Conclusion and Next Steps
Introduction to IoT Devices and SSH
IoT devices are revolutionizing the way we interact with technology in both personal and professional settings. These devices range from smart home appliances to industrial sensors, all connected to the internet for data exchange and remote control. One of the most effective ways to manage these devices remotely is through SSH (Secure Shell), a protocol that allows secure communication between devices.
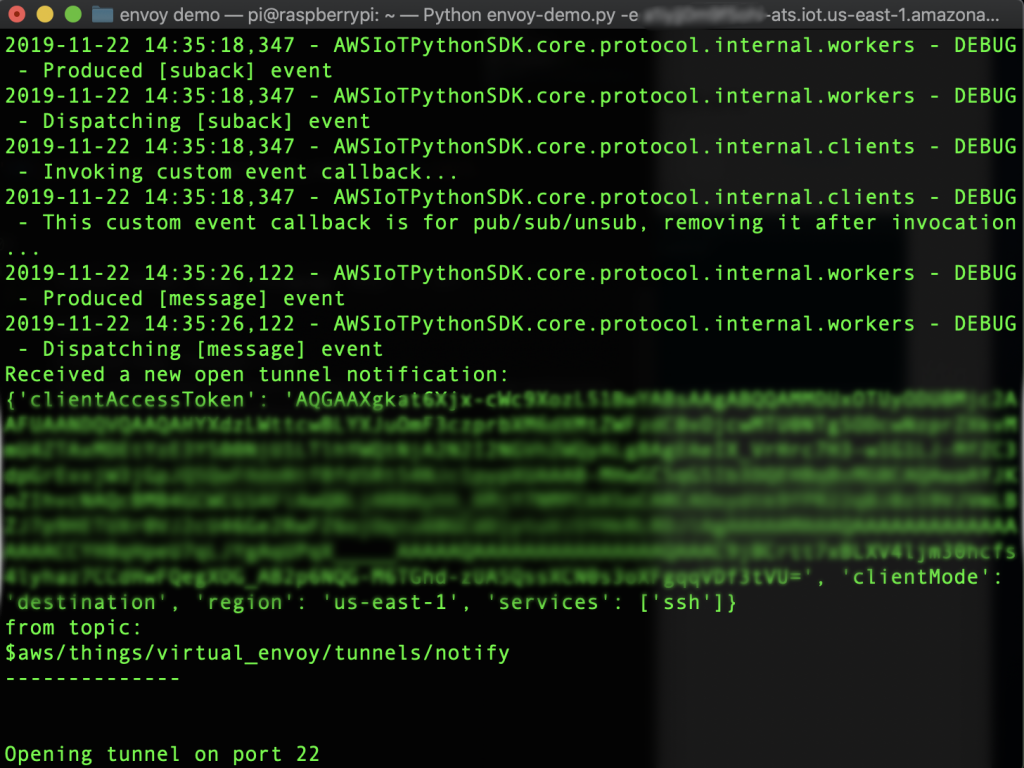
Remotely access IoT devices via SSH enables users to control and monitor their devices from anywhere in the world. With SSH, you can execute commands, transfer files, and even debug issues without needing physical access to the device. This is particularly useful for managing IoT devices that are deployed in remote locations.
What is SSH and Why is it Important?
SSH is a cryptographic network protocol used for secure communication over unsecured networks. It provides a secure channel for transferring data between devices, ensuring that sensitive information remains protected. By using SSH, you can remotely access IoT devices with confidence, knowing that your connection is encrypted and secure.
Why Choose AWS for IoT Devices?
Amazon Web Services (AWS) offers a robust and scalable platform for managing IoT devices. With its Free Tier, AWS provides a cost-effective solution for developers and hobbyists who want to explore the possibilities of IoT without incurring significant expenses. AWS also offers a wide range of services specifically designed for IoT, such as AWS IoT Core, which simplifies the process of connecting, monitoring, and managing devices.
Benefits of Using AWS for IoT
- Scalability: AWS allows you to scale your IoT infrastructure as needed, accommodating both small-scale projects and enterprise-level deployments.
- Security: AWS provides built-in security features, such as encryption and identity management, to protect your IoT devices and data.
- Integration: AWS integrates seamlessly with other services, making it easy to build complex IoT applications and workflows.
Setting Up Your AWS Account
Before you can remotely access IoT devices via SSH on AWS, you need to set up an AWS account. Follow these steps to get started:
- Visit the AWS website and sign up for a free account.
- Verify your email address and complete the registration process.
- Once your account is activated, log in to the AWS Management Console.
Enabling the Free Tier
AWS offers a Free Tier that provides access to a variety of services at no cost for the first 12 months. To enable the Free Tier:
Read also:Aaron Hernandez
- Go to the AWS Management Console and navigate to the "Billing" section.
- Click on "View Details" under the Free Tier Usage section.
- Ensure that your usage is within the Free Tier limits to avoid unexpected charges.
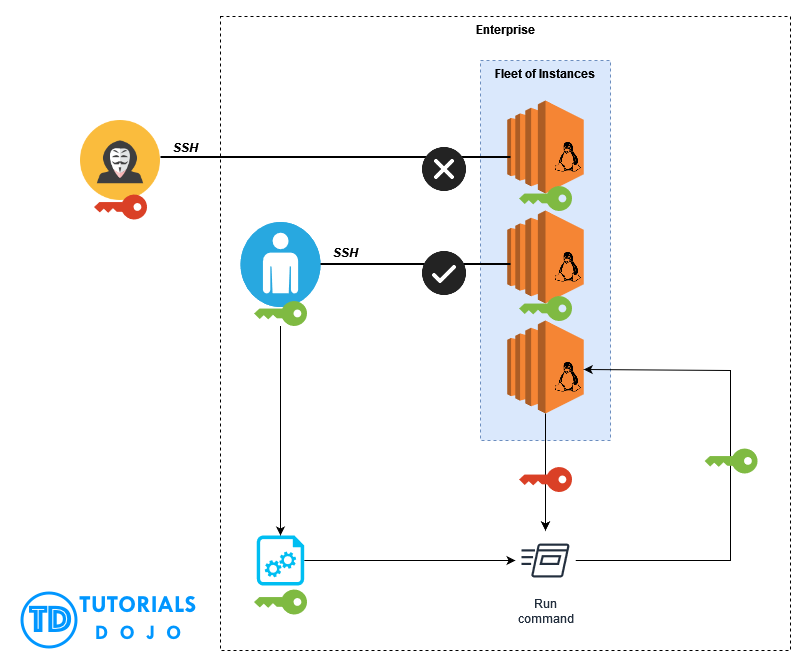
Configuring SSH Access for IoT Devices
Once your AWS account is set up, the next step is to configure SSH access for your IoT devices. This involves creating an EC2 instance, setting up security groups, and generating SSH keys.
Creating an EC2 Instance
An EC2 instance is a virtual server in the AWS cloud that you can use to host your IoT applications. To create an EC2 instance:
- Log in to the AWS Management Console and navigate to the EC2 Dashboard.
- Click on "Launch Instance" and select an Amazon Machine Image (AMI) suitable for your IoT project.
- Choose an instance type that fits your requirements and click "Review and Launch."
Setting Up Security Groups
Security groups act as virtual firewalls for your EC2 instances. To allow SSH access:
- Go to the EC2 Dashboard and select "Security Groups" from the left-hand menu.
- Create a new security group and add a rule to allow inbound SSH traffic on port 22.
- Save the security group and associate it with your EC2 instance.
Securing Your SSH Connection
While SSH provides a secure connection, it’s important to take additional steps to protect your IoT devices from unauthorized access. Here are some best practices for securing your SSH connection:
- Use Strong Passwords: Ensure that all user accounts have strong, unique passwords.
- Enable Two-Factor Authentication (2FA): Add an extra layer of security by requiring 2FA for SSH access.
- Limit Access: Restrict SSH access to specific IP addresses or ranges to minimize the risk of attacks.
Generating SSH Keys
SSH keys provide a more secure alternative to passwords. To generate SSH keys:
- Open a terminal or command prompt and run the command:
ssh-keygen. - Follow the prompts to create a key pair and save it to a secure location.
- Upload the public key to your EC2 instance and use the private key for authentication.
Troubleshooting Common Issues
Even with careful planning, issues can arise when remotely accessing IoT devices via SSH. Here are some common problems and their solutions:
- Connection Timeout: Ensure that your security group rules allow inbound SSH traffic and that your device is connected to the internet.
- Authentication Failed: Double-check your SSH key configuration and make sure you are using the correct private key.
- Permission Denied: Verify that your user account has the necessary permissions to access the device.
Advanced Features and Tools
AWS offers a variety of advanced features and tools to enhance your IoT experience. Some of these include:
- AWS IoT Core: A managed service that allows you to connect, monitor, and manage IoT devices at scale.
- AWS Lambda: A serverless compute service that lets you run code in response to events, such as changes in device state.
- AWS CloudWatch: A monitoring service that provides insights into your IoT devices and applications.
Understanding Costs and Limits
While AWS offers a Free Tier, it’s important to understand the costs and limits associated with using their services. The Free Tier includes:
- 750 hours of EC2 instance usage per month.
- 30GB of Amazon S3 storage.
- 1 million AWS IoT Core messages per month.
Once you exceed these limits, you will be charged based on your usage. Be sure to monitor your usage closely to avoid unexpected charges.
Best Practices for Managing IoT Devices
To ensure the smooth operation of your IoT devices, follow these best practices:
- Regularly Update Firmware: Keep your devices up to date with the latest firmware to fix bugs and improve security.
- Monitor Device Performance: Use tools like AWS CloudWatch to track device performance and identify potential issues.
- Document Your Configuration: Maintain detailed documentation of your setup to simplify troubleshooting and future upgrades.
Conclusion and Next Steps
Remotely accessing IoT devices via SSH on a free AWS web platform is a powerful way to manage and control your connected devices. By following the steps outlined in this article, you can set up a secure and scalable infrastructure for your IoT projects. Remember to adhere to best practices and regularly monitor your devices to ensure optimal performance.
We invite you to share your thoughts and experiences in the comments section below. If you found this article helpful, please consider sharing it with others who may benefit from it. For more information on IoT and AWS, explore our other articles and resources.